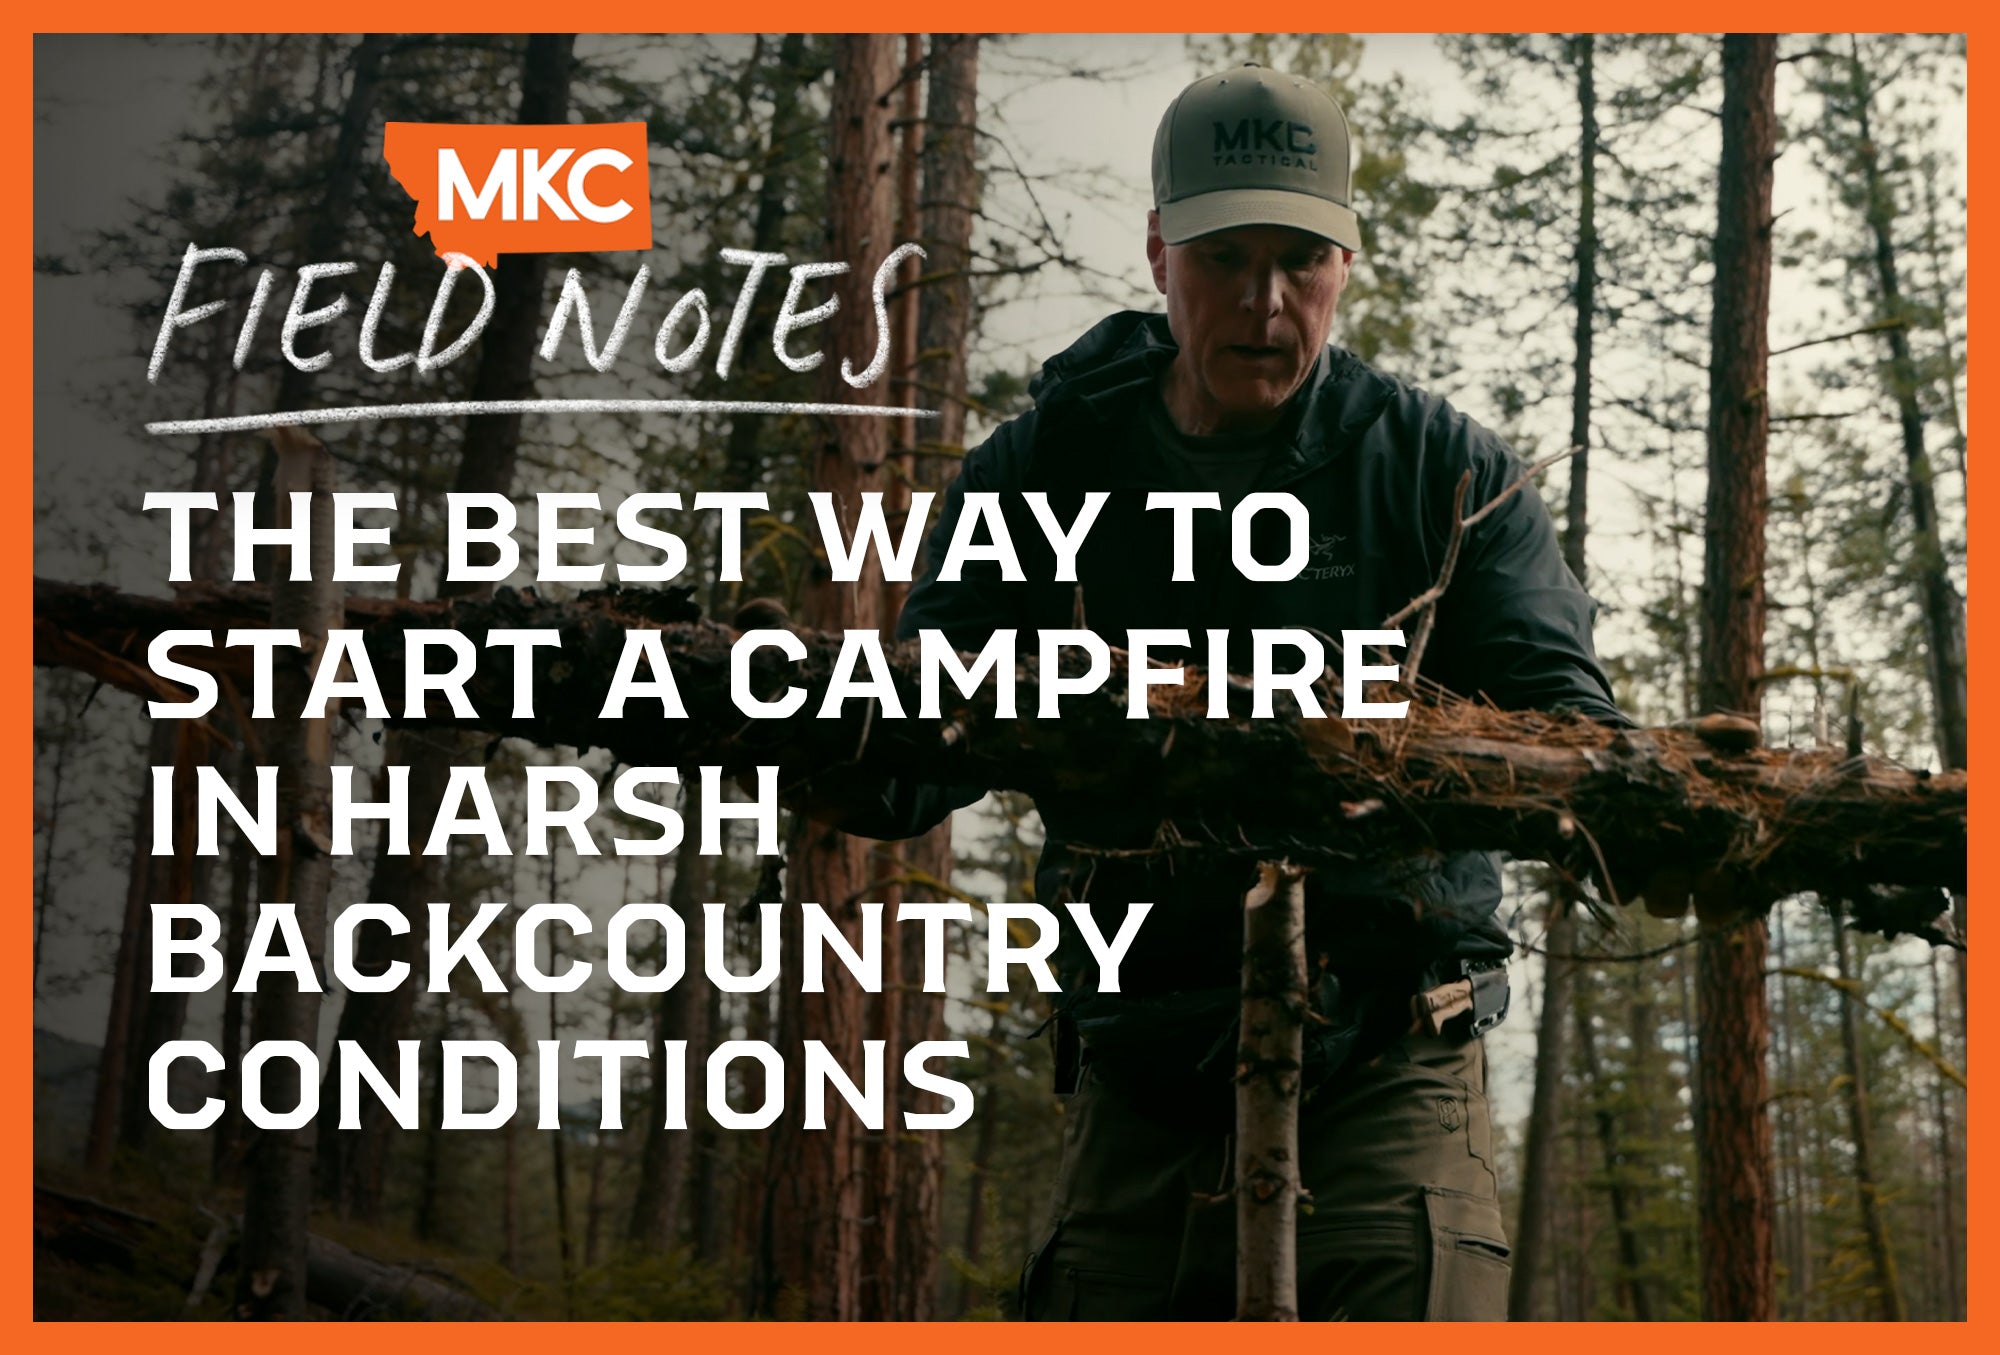


The work of building a fire begins long before you strike that first match.
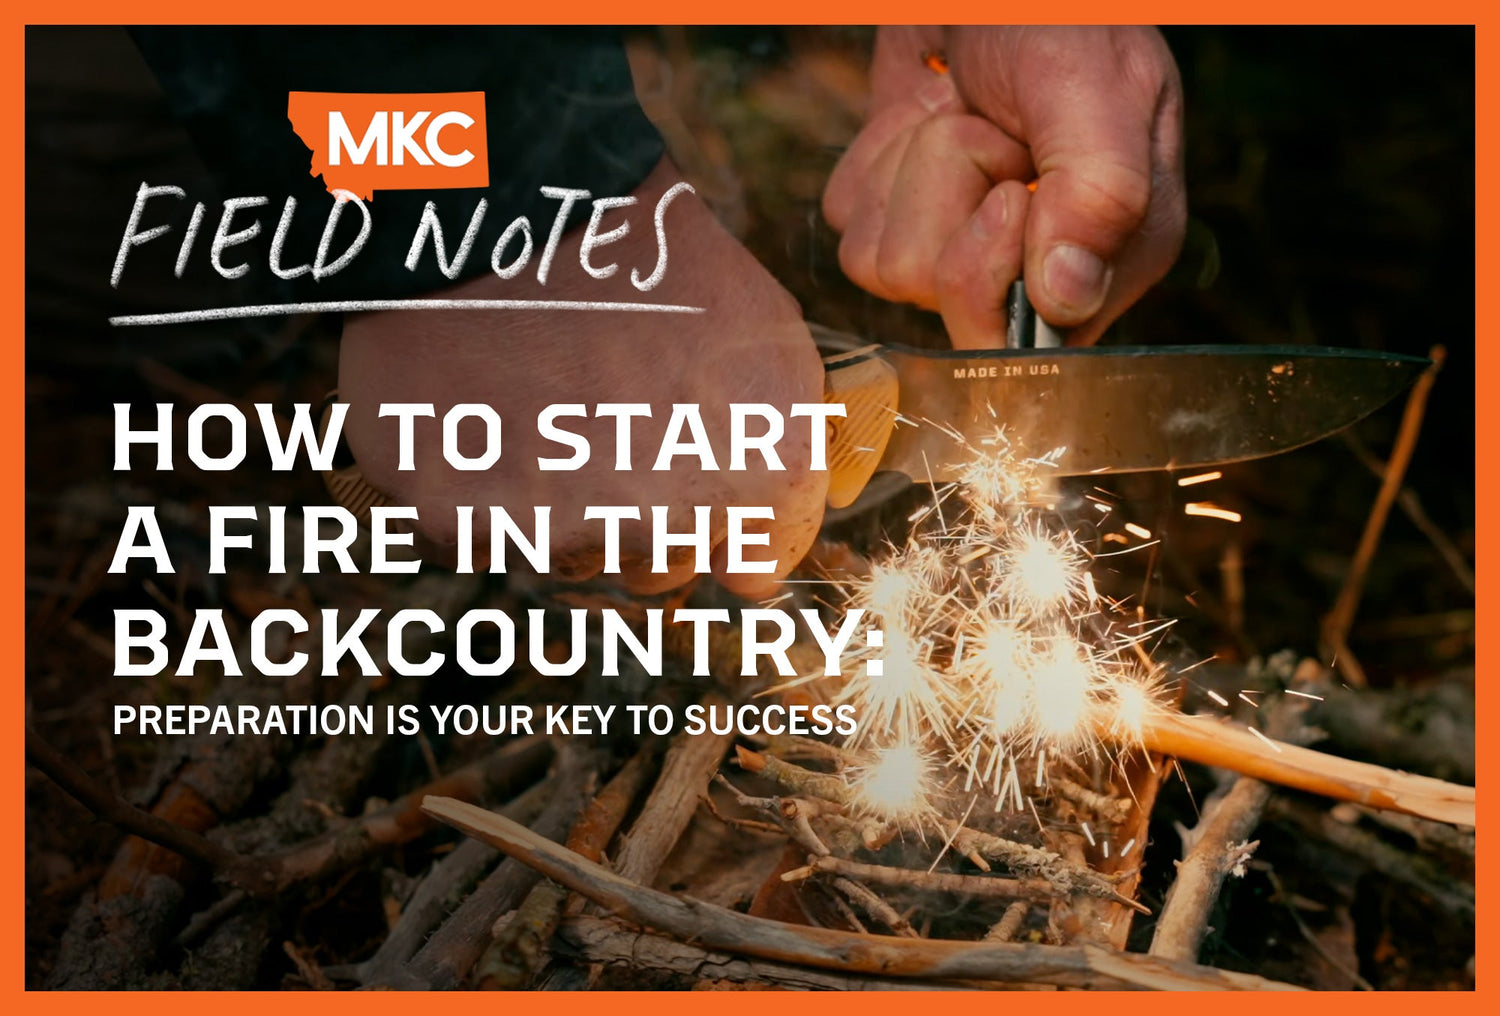
Anyone who knows how to start a fire in the backcountry understands that success hinges on preparation, especially in harsh conditions where a reliable heat source is a survival necessity. Today, I’ll teach you how to build a fire in the backcountry that de-escalates a life-threatening situation into a merely uncomfortable one.

Establish Your Shelter Before Building a Fire in the Backcountry
I’d be remiss to teach you how to start a fire in the backcountry without emphasizing your first and most important step: setting up shelter.
Shelter protects you and your fire from the elements, creating the protected space your fire needs to thrive — which is especially important when you’re injured and can’t move around easily to gather materials.
Your shelter options include:
- A lean-to made from natural materials
- A tarp pitched to block wind and reflect heat
- The lee side of a large boulder that breaks the wind
- The natural protection beneath a dense spruce tree
Collecting and Preparing Wood: The Foundation of Backcountry Fire Success
Once you establish your shelter, the real work of how to start a fire in the backcountry begins with gathering the right fuel.
Standing deadwood — fallen trees that remain suspended above ground by other trees, rocks, or brush — gives you your best chance of success in tough conditions. Their elevation keeps them from soaking moisture off the ground, resulting in dry fuel even during wet weather.
My rule for wood collection is simple: gather what you think you’ll need, then triple that amount. Nothing kills morale faster than running out of wood in the middle of the night or during rough weather.
Break your collected wood into different sizes:
- Matchstick-sized pieces for initial ignition
- Finger-sized sticks for building early flames
- Wrist-sized branches for sustained burning
- Larger pieces for long-lasting fires
In wet environments, use a knife or hatchet to baton larger pieces down to their dry cores. This technique splits superficially wet logs to reveal protected interior wood.
Fire Location and Intent: Purpose Drives Placement
Your fire’s principal purpose determines how to start a fire in the backcountry. Decide whether your fire is:
- A cooking fire that needs concentrated coals
- A heat source for your shelter during poor weather
- An overnight fire that must keep you warm for hours
- A signaling fire that needs to produce thick smoke
Your fire’s purpose influences its design and location. For instance, cooking works best with a round fire that produces steady coals, while heating a shelter might need a fire six to eight feet long to distribute warmth across several people.
Place your fire close enough to your shelter entrance to let heat in, but far enough away that you can still get in and out easily. This common mistake forces tough choices between shelter access and staying warm — a potentially dangerous situation in severe conditions.
The Reflector Wall: How to Double Your Fire’s Efficiency
A good reflector wall boosts your backcountry fire’s heating power. This simple structure bounces heat back toward your shelter instead of letting it escape into the woods.
To build reflector walls, drive posts into the ground with piled wet, rotting wood that won’t catch fire when it’s exposed to heat. Position the wall behind your fire, opposite your shelter, creating a three-point heating system that captures more warmth.
Natural terrain features work just as well with less effort — mud banks, rock faces, or even snow walls provide the same reflective benefits. These terrain features save you work and give you the same heating advantage.
Ground Preparation: The Often-Overlooked Foundation
Ground preparation is the most overlooked part of how to start a fire in the backcountry. The surface beneath your fire determines how well it burns and how long it lasts.
Never build fires directly on snow or wet ground. These surfaces pull heat from the bottom of your fire, making it harder to burn. Instead:
- Clear all wet debris, including pine needles and other plant matter
- Build a platform of dry sticks as a base, or use flat rocks to keep your fire off wet ground
- Create good airflow paths from multiple directions to feed your fire
This foundation keeps your fire away from moisture while creating the airflow you need for good combustion. A well-prepared base gives your fire the stable platform it needs to develop and sustain itself.
How to Start a Fire in the Backcountry: The Time Investment That Saves Lives
The more time you invest before ignition, the more successful your fire will be.
Practice these preparation techniques in adverse conditions — rain, sleet, snow, hail, etc. Training in controlled scenarios builds the skills you need to survive a real-world emergency.
In remote environments, thorough fire preparation is a critical survival skill. The time you spend learning how to start a fire in the backcountry influences your chances of survival when Mother Nature turns on you.

by John Barklow, a Special Operations Survival Instructor and consultant who has spent decades teaching military personnel and civilians survival techniques in extreme environments.