


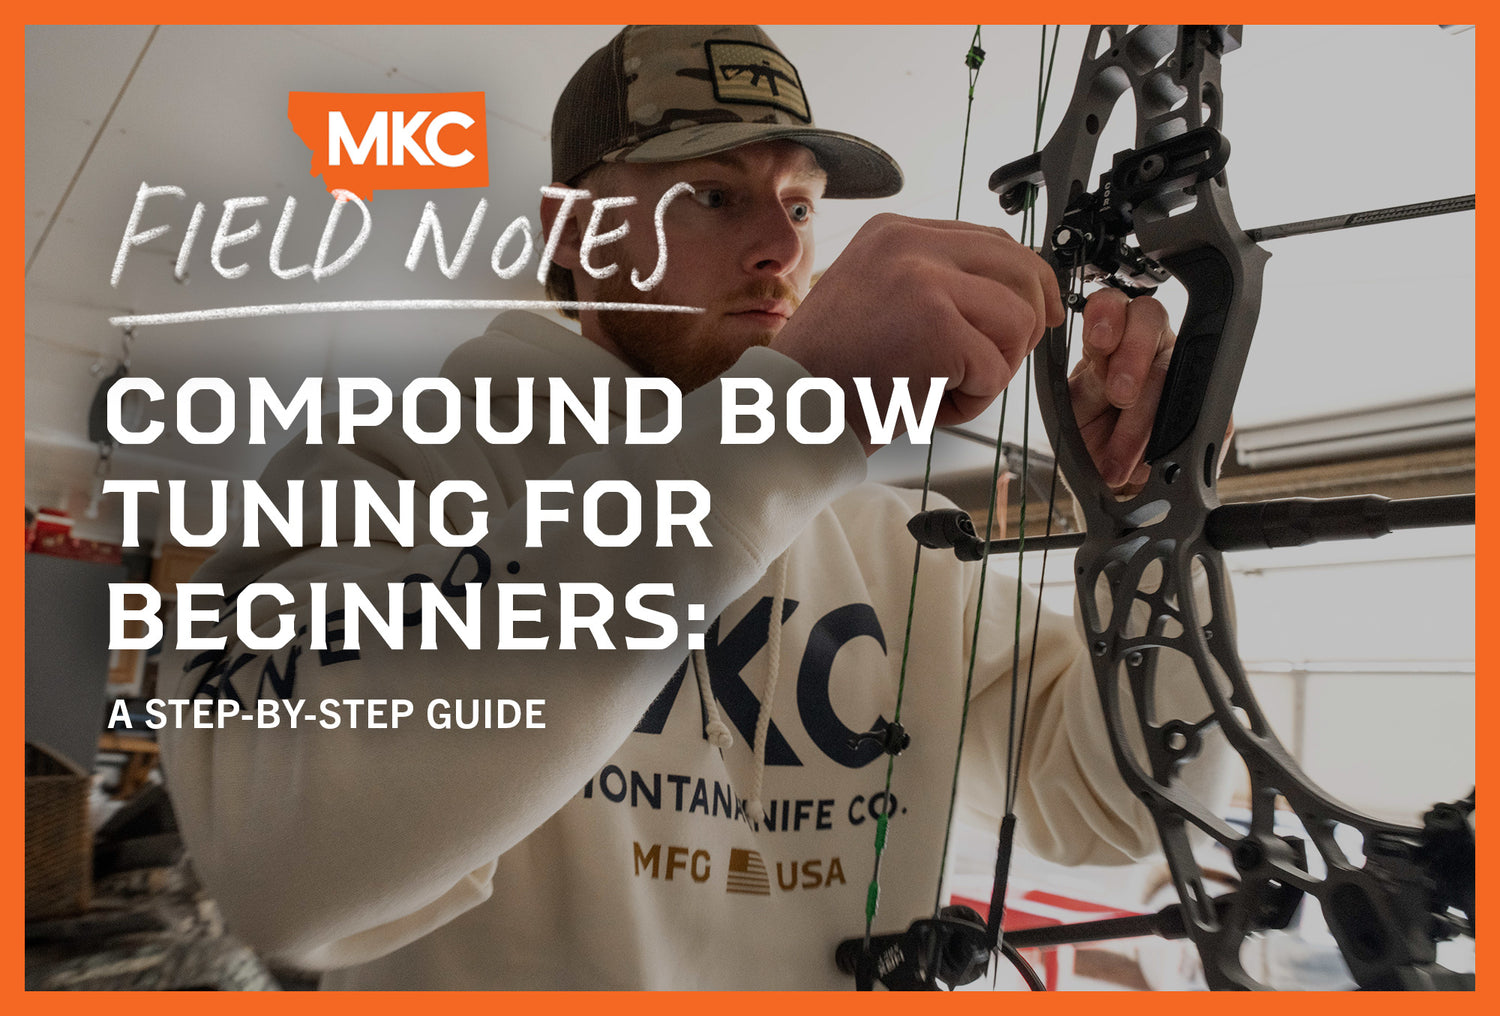
A compound bow is a beautiful, functional piece of engineering. If it’s not properly tuned, though, it’s just a mantelpiece. Fortunately, anyone can learn how to tune a compound bow.
The process looks complicated at first glance, but don’t let it overwhelm you. Take it one step at a time, and you’ll be an expert in compound bow tuning in no time.
Before we explore compound bow tuning for beginners, here’s a tip: Take pictures of any components you plan to take apart before you start. You’ll need a reference when you put your bow back together.
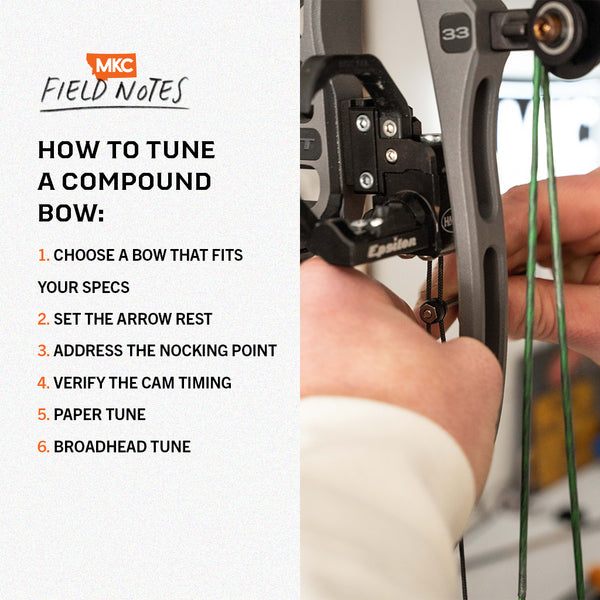
Compound Bow Tuning for Beginners in 6 Steps
Step 1: Order a Bow That Fits Your Specs
Order a compound bow that’s comfortable to draw and aim. Make sure it has the right draw length, weight, and let-off percentage.
At full draw, your elbow should align with your arrow, and your hand holding the release should rest along the back of your jawbone. You’ll know your bow has the proper draw weight if you can pull it smoothly without raising it too high, changing your position, or aiming toward the ground.
When you get your bow, make sure the brace height and axle-to-axle (ATA) length match the factory specifications. Axle-to-axle length is the distance between the centers of the top and bottom axles. Brace height is the space between the deepest part of your bow’s grip, the throat, and the bowstring.
Set these two measurements to your bow’s advertised factory specs if they aren’t already. This could mean adding twists or taking twists out of your bow’s cables.
Step 2: Set the Arrow Rest
Your arrow rest should sit around 13/16″ away from the bow’s riser. Some can be slightly closer or farther, but this is the general rule of thumb for compound bow tuning for beginners.
Start by securing your bow. A bow vise works best, but many tools work if your bow is secure, level, and vertical.
Follow the manufacturer’s instructions to attach your arrow rest to your bow. It doesn’t need to be perfect yet; we’ll adjust it as we move on.
Step 3: Find Your Nocking Point
The center of your arrow should go straight through the center of your Berger hole, with the arrow rest in an upward position.
Check the vertical level of your nocking point by using a 90° bow square. Once you’ve confirmed a 90° angle, tie soft knots above and below the arrow using serving material. I typically do three ties below the nock and three ties above the nock.
Next, wiggle your nock slightly to allow some room between both soft knots and your nock. This prevents nock pinch, which causes inconsistencies in arrow flight.
Next, tie your D-loop in. If you’re right-handed, the top knot should face away from you, with the bottom knot facing toward you. For left-handed shooting, do the opposite.
Your nock should spin freely without the string twisting. Test your setup by pulling on the string gently and letting go. The arrow should come off the string for you to catch.
If the nock twists your string or the arrow doesn’t come off easily, remove your center serving and serve a new one using thinner material.
Step 4: Verify the Cam Timing
Check your cam timing using a draw board.
Put your grip against the peg in the draw board, then attach the S-hook to your D-loop and safety rope around the nocking point. Then, crank it back until just before the cable stops touching your bow’s cables.
Make sure both the top and bottom cams hit the draw stop at the same time. If they do, proceed to the next step. If not, we’ll have to do a little extra work.
If the top cam hits the draw stop first, press the bow, take off the cable on this cam, and add a twist. This should make the bottom cam hit the draw stop at the same time as the top.
If the bottom cam stops first, do the opposite. Then, test the cam timing again on the draw board.
Continue this test-and-fix process until both draw stops hit at the same time. Keep in mind that adding twists increases draw weight while taking twists out decreases it.
Step 5: Paper Tune
Now that you know all about compound bow tuning for beginners, it’s time to test your work.
Paper tuning is a popular testing method. Start by hanging a stretched piece of paper in front of a target. (You can do this by taping it across a cardboard box, building a wood frame to attach it to, or taping it inside a chronograph.)
Position yourself five to seven feet away from the paper and shoot your arrow straight through. The target should be far enough behind it that your arrow completely clears the paper.
Shoot with good form during this stage. If you’re sloppy, you may get misleading results. If you can’t get consistent results, you may need to work on your grip, form, release, and/or facial pressure.
The goal is to achieve a near-perfect “bullet hole” in the paper — the same diameter as your arrow. The more similar the hole is to your arrow, the better its flight. Shoot multiple shots until you know what needs to change:
- Nock left: Shim the cams to the right for a big tear. Micro-adjust the rest to the right for a small tear. This also could mean your arrow spine is too weak. Switch to a stiffer-spined arrow or decrease your draw weight by taking one or two full turns out of the top and bottom limb bolts.
- Nock right: Shim the cams to the left for a big tear. Micro-adjust the rest to the left for a small tear. This could mean your arrow spine is too stiff. Switch to a weaker-spined arrow.
- Nock high: Bring the nocking point down and/or the rest up.
- Nock low: Vice versa.
Step 6: Broadhead Tune
Broadhead tuning is imperative to achieving perfect arrow flight if you’re a bowhunter.
While most broadhead manufacturers state that their broadheads fly like field points, that isn’t always true. You must still tune them and make the necessary adjustments.
Shoot one or two arrows with your broadheads of choice alongside a few arrows with field points. Shoot the broadheads first — otherwise, they may hit and ruin your other arrows.
You want the broadheads and field points to have roughly the same point of impact at multiple distances. Once you exceed 60 yards, your broadheads drop more because of drag.
You can achieve the same point of impact by moving your rest in the opposite direction of where your broadheads hit, relative to your field points. If your broadheads hit to the right, move the rest to the left, and vice versa.
Your fixed broadheads may take longer to tune than mechanicals, but you must still tune both for the best results.
Factors That Affect Compound Bow Tuning for Beginners
Successfully tuning your compound bow once doesn’t mean you’re done. Regular use, time spent in storage, temperature fluctuations, and changes to your style all affect your bow’s tune.
Some archers tune their bows after each session, while others check only when they notice a problem. As you use your compound bow more, you’ll learn how often it needs tuning.
Your bow’s cables and strings naturally stretch over time. Temperature and humidity can slow or expedite this process, too. Consider tuning your bow before you use it if it’s been in storage for a long time.
Finally, your shooting form may change as you learn to get the most out of your new compound bow. This may feel especially obvious if you switch to a bow you haven’t used in a while. Tuning your bow before any significant use ensures you and your bow are prepared.
Alternatives to Compound Bow Tuning for Beginners
If you’ve concluded that tuning your compound bow isn’t for you, there are still alternatives.
Professional bow shops, local archery shops, and manufacturer service centers offer tuning services. Their technicians have the expertise and know-how to tune your bow for you.
If you feel overwhelmed tuning your compound bow for the first time, ask for help! You may be able to watch the process at some shops. Learning in person may be easier than learning by reading a guide.
Standard tuning services typically cost under $100, though the price varies by shop. Advanced services may cost more. While that adds up over time, there’s nothing wrong with relying on a professional until you learn how to tune your bow.
Lastly, if you have a friend or family member who’s an experienced bow hunter, they might be willing to mentor you.
Compound Bow Tuning: Enjoy the Accuracy
Now that you know the steps to tune a compound bow, you’ll enjoy greater accuracy during your next season and more confidence in your setup. How often you tune your compound bow is up to you, but it’s a good idea to check it regularly.
For example, if you use it during bowhunting season, check the tuning before the season starts. If you participate in shooting competitions and other events, tune your bow before each competition.
What will you hunt (or do) first with your freshly tuned bow?
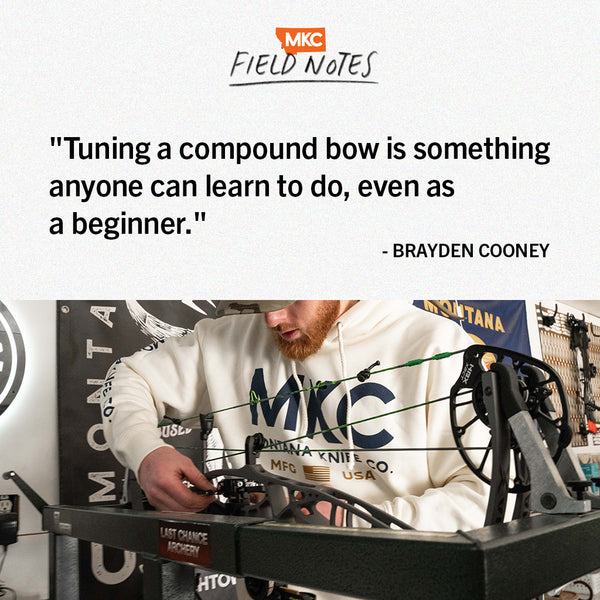
by Brayden Cooney, valued MKC Team Member